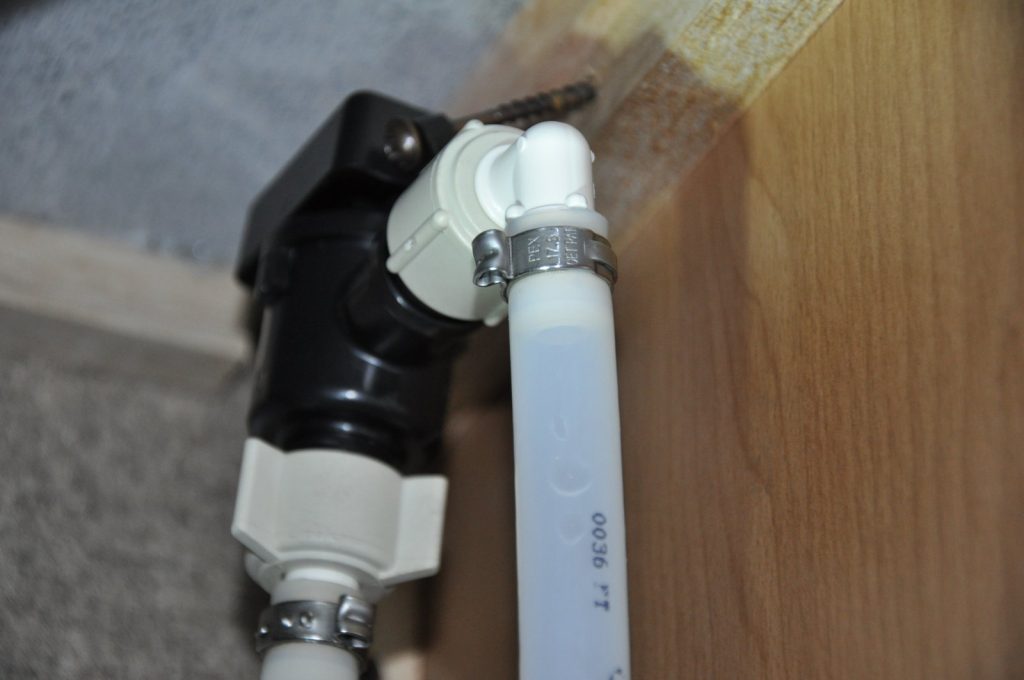
How To Fix a B&B Model 571 Check Valve Leaking (Alternative)
With a myriad of parts in an RV and trailer, you will always be doing some sort of maintenance to pass your golden years. One of those duties will be to fix a leaky B & B check valve. It may not be as simple as the part looks.
One way to fix the leak would be to put a pressure regulator on the flush system fitting. That seemed to do the trick for one owner with this problem. Another fix would be to simply replace the broken check valve and add the pressure regulator to prevent this from happening again.
To learn more about this problem and how to fix it, just continue to read our article. It has the information you want to know about so when it happens to you, you know what to do. Take a few minutes to see how this information helps you prevent or fix this problem.
B&B Model 571 Leaking

This seems to be a common problem with RVers. The valve seems to leak no matter which model you put it in. The purpose of this check valve is to stop bacteria and tainted water from getting back into your water system.
It is a one-way valve so you should not have to worry if it is working properly. However, there seems to be a high rate of failure with this part as many owners across a variety of RV discussion forums have talked about their leaking situation.
The key to using it is that it needs to be placed 6 inches above the highest point of any system you attach it to. Some people may not have the luxury and have their B & B 571 at lower positions. Or they have come loose and fallen down.
But the source of the leak is water pressure. If you have too much water pressure flowing through. The valve ends up cracking, breaking, or springing a leak somewhere.
Also, the installation should not be anywhere near where the venting of the device it is attached to can cause it some damage. In other words, watch where you install this check valve as that location can cause damage to it.
B&B Model 571 Alternative

One alternative would be the Watts Series LF288A Lead Free* Hot or Cold Water Anti-Siphon Vacuum Breaker. This part is a 90-degree check valve that does the same thing as the B & B 571. Only it is made of brass and not plastic.
It is also large enough to allow for maximum water pressure. That means you may not have to install a pressure regulator to protect the valve like you do the B & B 571. However, the maximum pressure it can take is 125 psi.
You can buy this valve in different sizes to fit the plumbing diameter you have in your RV or trailer.
The second alternative is the hose bib type vacuum breaker valve and which is about 1/8th of the price of the B & B check valve and it too is made of brass. Its installation is not difficult however, you will need a 90-degree elbow to make it work.
This part is supposed to be the most inexpensive part you can buy for this task. And its installation is not going to be much different than the B & B 571 installation we will discuss in the upcoming section.
A third alternative would be the RecPro Vacuum Breaker Check Valve. This is a versatile part that can be used for both high and low-pressure systems. Plus, it should only be placed on a line that services one fixture.
The main drawback to this option is that it is made of the same plastic resin the B & B 571 is made of. The installation will be easy as well. The instructions that follow or come with this part will make installation nice and simple.
The final alternative may be the Valterra P23415LF Brass 1/2" Check Valve and it is 3 times as expensive as the hose bib model but less than half of the B & B 571 check valve.
This is also easy to install and it is made of brass as well. However, it may only come in the 1/2-inch size. Check with your hardware store to make sure
B&B Model 571 Check Valve Installation

The instructions are fairly simple and very straight forward. First, it does not matter where you put this valve as long as its final resting place is 6 inches above the highest point of the device it is attached to.
That gives you a lot of flexibility when it comes to locating it. When it comes time to install the part, you will need threaded connectors on both ends. One on the way up to the device and one on the way out. This is a 90-degree installation so you may need a 2nd 90-degree elbow for the fixture side of the water line.
All you have to do is screw those connectors in place and when you do that, if there is no washer, you need to use Teflon tape to seal those threads. After you have installed this device, turn the water on and test it for leaks.
Just watch out for too high of water pressure.
Some Final Words
When it comes to installation of this part, use a tape measure to get that minimum 6-inch level. Then connect the part to the water line. That is all there is to it.
But since it is plastic, you may not want to use it. You have some solid alternatives to use that should not leak. They are almost all cheaper than this product.
You can replace the part or add a pressure regulator to protect the device. The choice is yours to make but your budget may influence that choice.

